How to fix your autodim rear view mirror
If you wish to replace just the glass inside your rear view mirror with a brand new replacement ‘Cell’ re-using your mirror housing, sensors, circuit board etc. I can help you out. I can supply improved replacement glass cells. Instead of using liquid between the two pieces of glass, a conductive Gel is used instead. It is also sealed in a different way to the Original Magna Donnelly glass cells so it should not leak out ever again in the future. It still dims in the same way as the original glass. Some people have commented that it appears to dim/un-dim slightly quicker and go slightly darker when required. This is an improvement on the original and in effect makes it ‘better than new'. It should never fail again and gives you the peace of mind that your mirror is not going to explode at any moment dissolving your mirror housing, centre console, exhaust system, driveway etc!The cost of doing it this way is cheaper than even buying a second hand mirror. Bearing in mind that a second hand mirror could still fail at any point, this is a 'no-brainer' in my opinion! If you like taking things apart and can use a soldering iron, it is not tricky to fit this yourself. It takes minimal tools, just patience and care. Below I have made up a guide to help you out.
Tools/Items needed:
- Replacement Mirror Glass ‘Cell’
- Small Flat head screwdriver
- Stanley knife/craft knife
- Soldering iron / solder
- Double sided tape
- Replacement Mirror Glass ‘Cell’
- Small Flat head screwdriver
- Stanley knife/craft knife
- Soldering iron / solder
- Double sided tape

1: First remove the plastic shroud/cover around the top of your mirror where it meets the screen. It is in two parts and just clipped together. The seam runs down the middle, top to bottom. You can use a flat headed screwdriver to separate the two halves and they should just ‘pop’ off.
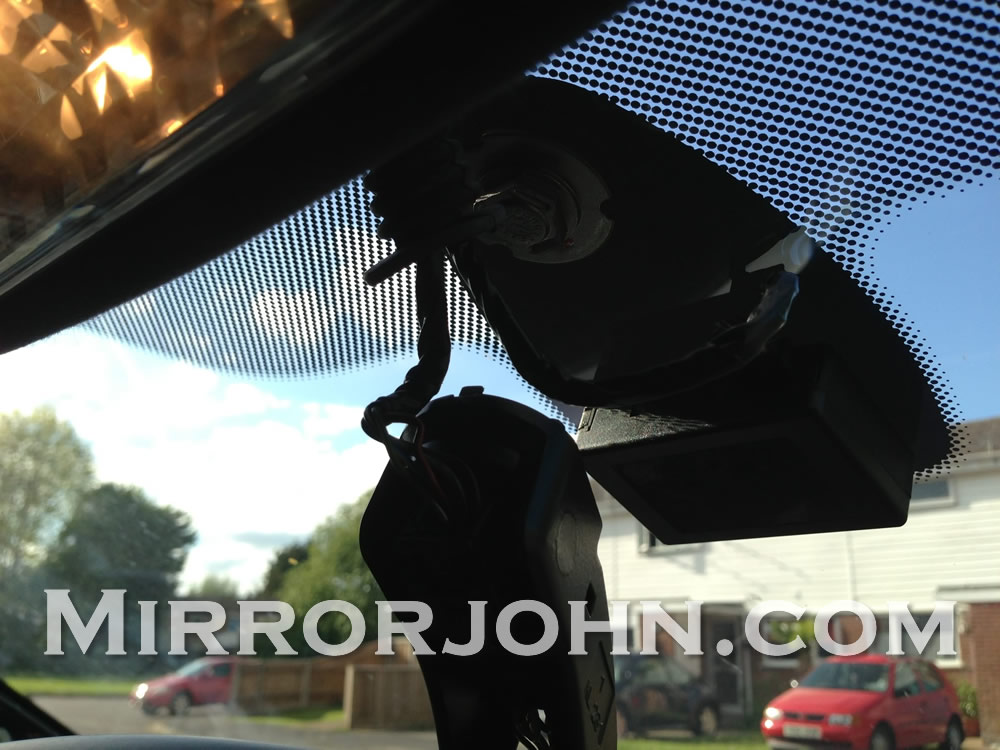
2: To remove the mirror you need to TWIST it. Whatever you do, DON’T try to pull it off the windscreen. A well known forum member tried this and was left with a piece of his windscreen missing! I wont name him and shame him (yet). If you hold the mirror, while looking at it, twist it anti-clockwise. This will then release it from it’s clip on the windscreen. The only thing holding the mirror on now is it’s wiring.
3: The plug for the wiring is recessed in to the mirror arm itself. You can pull it away from the arm slightly to help you get to it. There is a tab in the plug that needs to be pressed in with a small flat-headed screwdriver, then you can pull the plug out.
Your mirror is now removed from the car!
4: Go inside now and have a seat! You now need to separate the mirror. You can see the seam/join running around the mirror. This is where it needs to come apart. This is the tricky bit. To avoid scratching/marking the housing, I find the easiest way to do this is to get a small blade and push it in the join on one end.
Once you have used this to make the gap bigger, you can push in your small flathead screwdriver.
Gradually, carefully work it around the mirror. It will start to come apart. The front part will now pop off. You will probably break some of the internal retaining clips as you separate it. Don’t be disheartened; you will always break a few. It doesn’t effect putting it back together. You will be left with this:
5: Take the Mirror glass out the housing. You can now see the circuit board attached to the back of the glass.
Unplug the wiring from this. The plug is always a little tight. It should come off with a little wiggle.
Unplug the wiring from this. The plug is always a little tight. It should come off with a little wiggle.
The glass & circuit board are now removed from the casing
7: If you want to, you can unclip the circuit board from the plastic holder it is sat on. I tend to leave it in place. This is fine if you are careful. Using your craft knife, carefully slide it between the mirror glass and the plastic holder the circuit board is sat on to separate the two. Be careful, it hurts when you stick it in to your finger (I know).
It is really sticky stuff, but eventually you will get the plastic circuit board holder off the glass. Be careful with the rear facing light sensor while you are doing this, don’t squash it or snap it off the board.
It is really sticky stuff, but eventually you will get the plastic circuit board holder off the glass. Be careful with the rear facing light sensor while you are doing this, don’t squash it or snap it off the board.
You are now done with your old glass.
Be careful it doesn’t leak on anything and obviously dispose of it in the correct way!
Notice the difference in colour and the air bubble in my old glass.
Old glass at bottom and new glass at the top:
Old glass at bottom and new glass at the top:
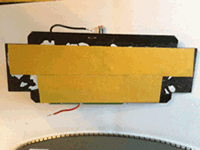
8: Take your nice new shiny glass. You will notice both sides are mirrored unlike the original. You stick the circuit board/holder on to the side with the sticker on:
This is effectively the back. Take note of the sticker as it shows you which side of the glass is +ve (positive) and which side is –ve (negative):
This is effectively the back. Take note of the sticker as it shows you which side of the glass is +ve (positive) and which side is –ve (negative):
If you look on the circuit board where the two wires come out, you will notice it marked +ve and –ve. Make sure you stick the circuit board on the back of the mirror the right way round so the positive goes to the positive and the negative to the negative. There is probably enough sticky material left on the back of the circuit board holder to stick it on as it is. If you want, you can use double-sided tape like I do:

9: Now the circuit board is stuck via it’s holder the right way round on to the back of your new piece of glass, you need to get your soldering iron again and solder the two wires back to the edge of the glass. Be careful and take your time.
10: Plug the mirror plug back in on to the circuit board and locate the mirror back in to the housing.
Make sure the rear facing sensor is still pointing in the right direction. You might need to carefully bend it back.
Make sure the rear facing sensor is still pointing in the right direction. You might need to carefully bend it back.
11: As you slide the front cover back on, check the front facing sensor is visible and lined up through the hole on the front. Also make sure the rear facing sensor fits in to it’s aperture on the front part of the mirror as you clip it in. It has a cut-out that it fits in to which is only marginally bigger than the sensor itself, so has to be line up perfectly. Don’t be afraid to move it slightly to line it up. If you have broken loads of internal clips you could use some glue, but from my experience it’s just not necessary. As long as you haven’t snapped all the internal clips it still holds together fine.
Your mirror is now back together and looking like new!
12: Make yourself a cup of tea and admire your handy work. Think how much money you have saved over buying a new mirror from BMW and plan what mods you can spend it on!
13a:
Putting it back in your car is the reverse of above (1-3). Remember, this time you are locating it on the fixing on the windscreen and rotating it CLOCKWISE.
Putting it back in your car is the reverse of above (1-3). Remember, this time you are locating it on the fixing on the windscreen and rotating it CLOCKWISE.
13b:
Take your time. It is harder putting it back on than it as removing it but you will get it. Reconnect the plug:
Take your time. It is harder putting it back on than it as removing it but you will get it. Reconnect the plug:
13c:
and refit the plastic cowl.
and refit the plastic cowl.
13d:
Sit back and admire your work again.
Sit back and admire your work again.
Test Your M3 or M5 Rear View Mirror
14: During the day: With ignition to accessory position II (All lights on dash) put your finger over the sensor hole facing forwards and you will see the mirror dimming over a couple of seconds. Remove your finger and it should go light again. That’s it!
If anyone has any questions about any of these stages, please let me know. I’m happy to help.


